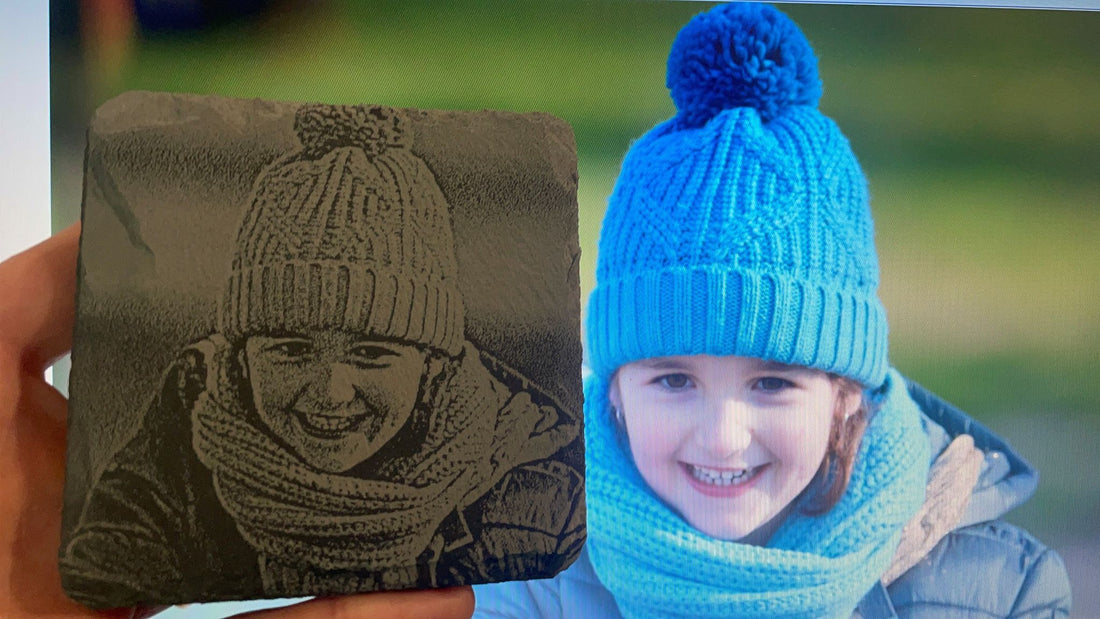
How to: Photo Engraving on Slate with Laser Falcon 22W
| Software | LightBurn |
|---|---|
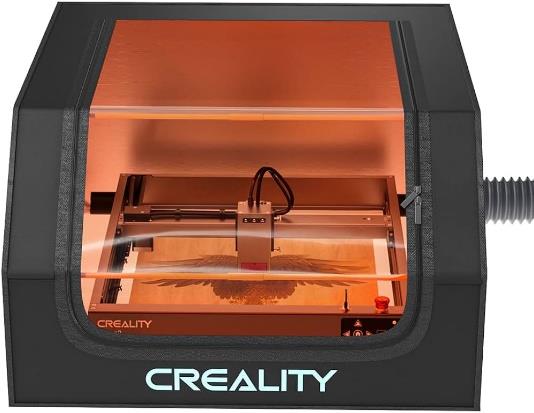
| Machine | CrealityFalcon Falcon2 22W Laser Engraver |
| Laser Module Output Power | 22W |
| Material Used |
Slate, Laser Falcon 22W, Safety glasses |
| Author | Marcuzzo Mattia |
| Purpose | Engraving photos on slate |
| LightBurn Files |
How to
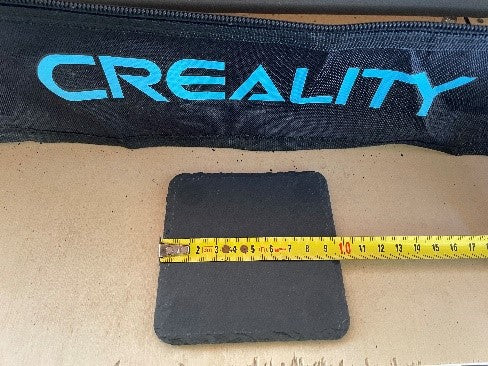
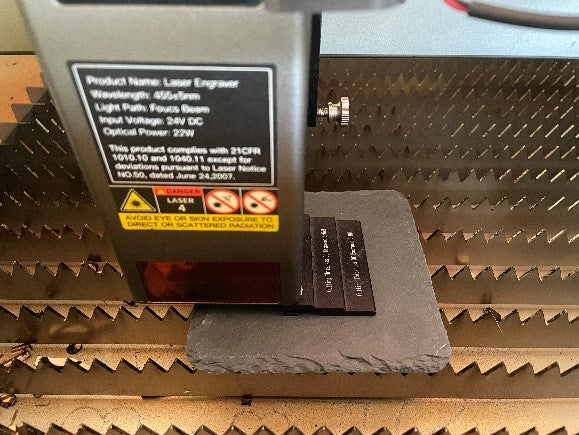
Step 1: Locate the piece of slate to be engraved and note the dimensions
Step 2: Place the piece of slate on the laser working field and adjust the focus of the laser module
Step 3: Connect to the imag-r.com website and click on the "upload" button at the bottom of the page
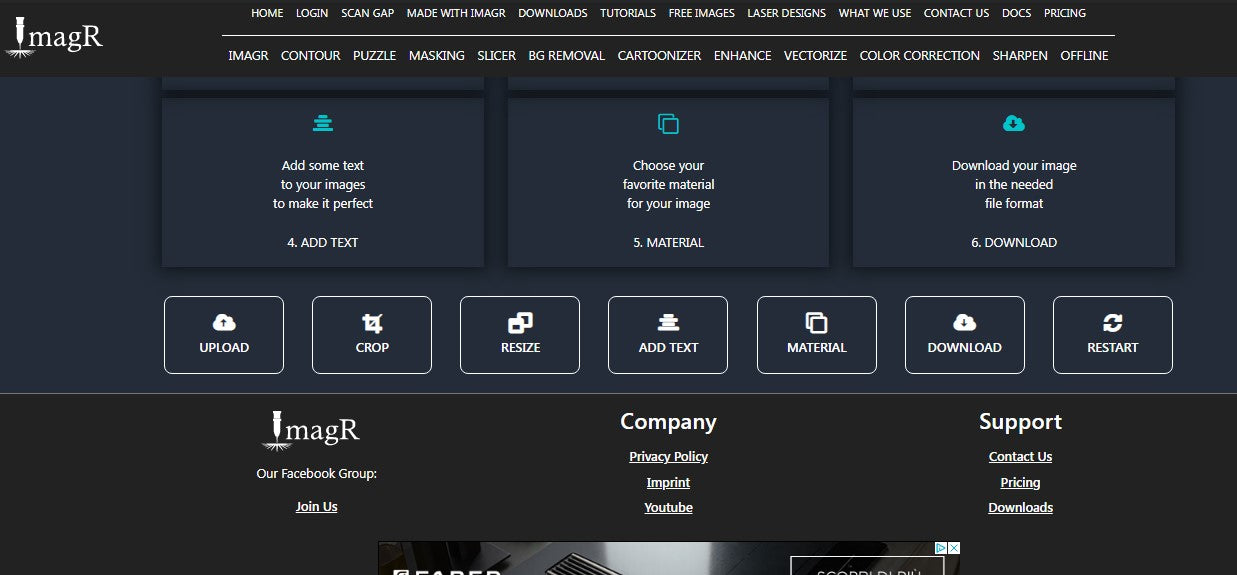
Step 4: Now click on the grayscale button. Choose the photo you want to engrave. Remember that the higher resolution the photo, the better your work will be

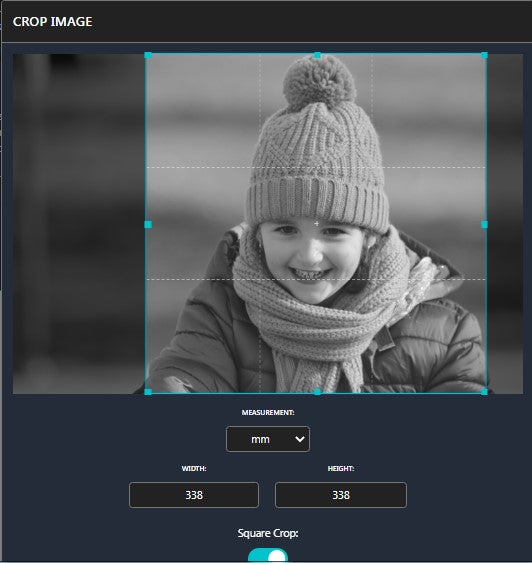
Step 5: Wait a few seconds for the photo to load, then click on the crop button at the bottom of the page. With this operation, you will make your photo have the same shape as the piece of slate. If it is square, as in this case, activate the "square crop" button.
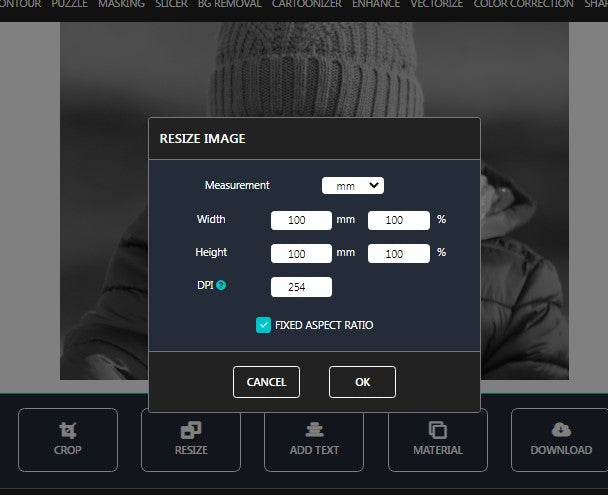
Step 6: Now click on the "Resize" button and enter the dimensions of the slate piece.
Enter 254 as the DPI value
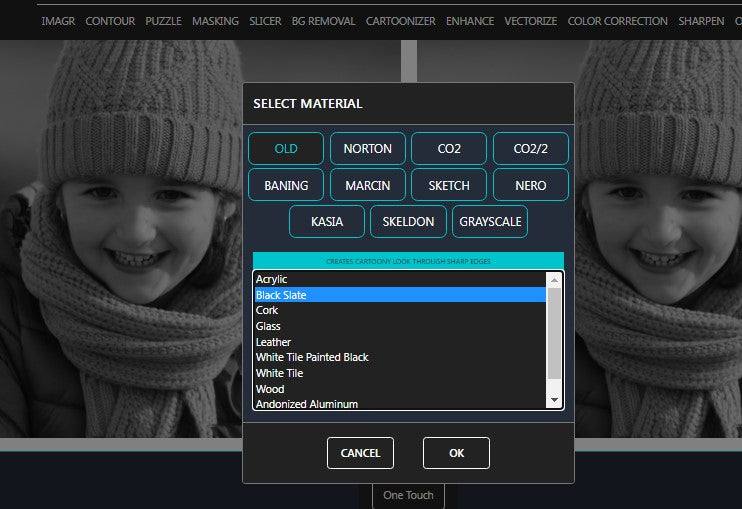
Step 7: Now click on the "Material" button and select OLD and BLACK SLATE.
Enter 254 as the DPI value
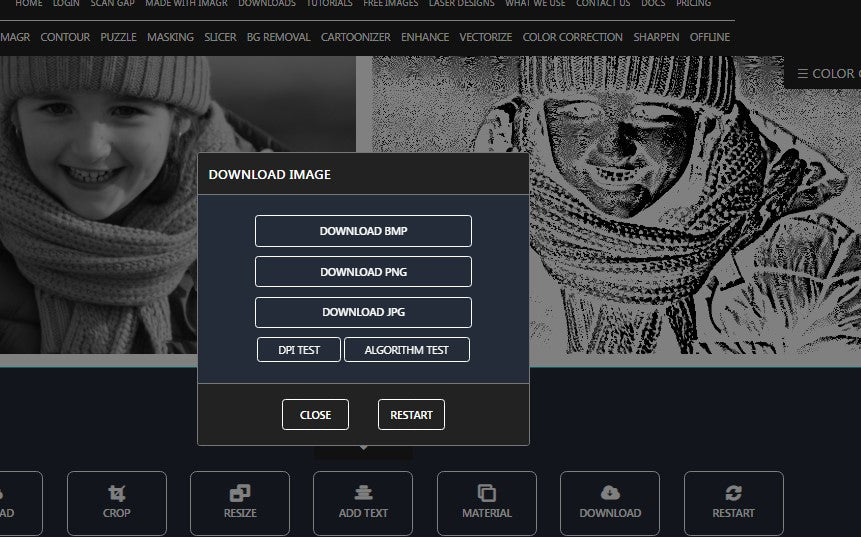
Then click on the "Download" button and then on the "Download bmp" button
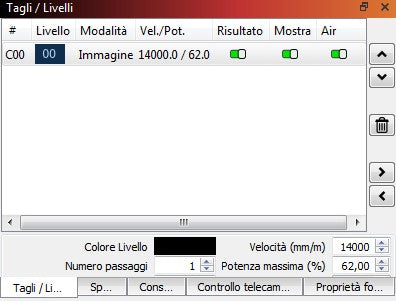
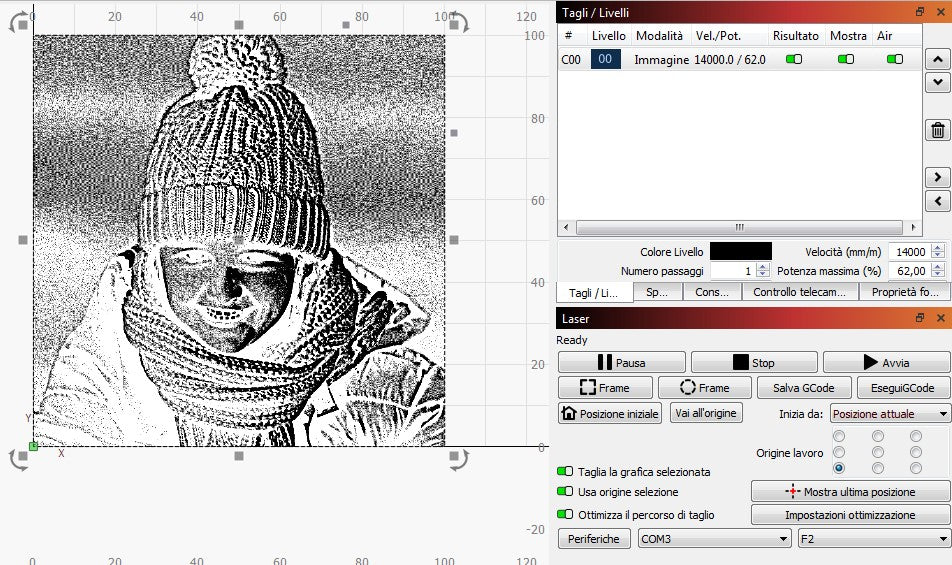
Now open a new project in Lightburn and import your photo. You will see that the dimensions are the same as you set.
Warning: do not vary the size of the image on Lightburn, otherwise you will ruin the work.

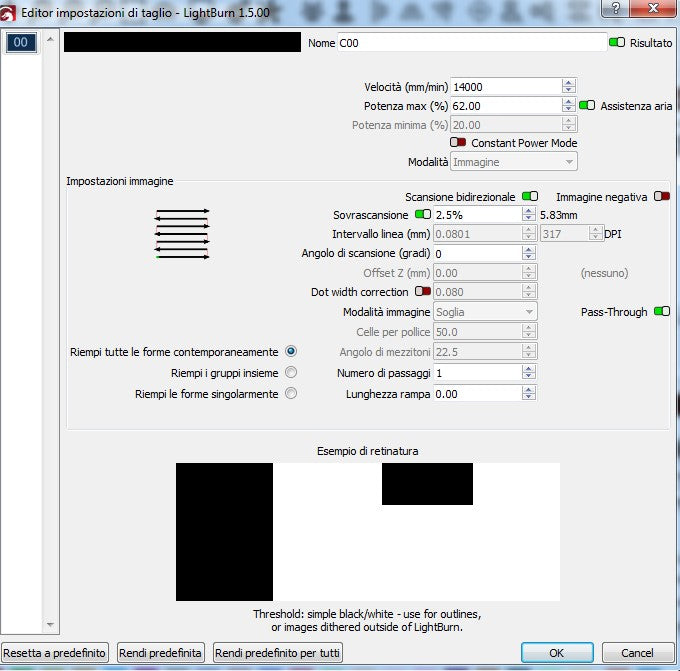
Set the speed to 14000 mm/m and the power to 62%
On the advanced cut settings, activate the "Pass-Through" button and set the overscanning to 2.5%. Don't touch anything else
Now you are ready for your engraving. Highlight the photo, take a frame to center your piece of slate, then press "play" and good work
Always remember to use safety glasses (if you don't have a cover) and a fume extractor. Good work!


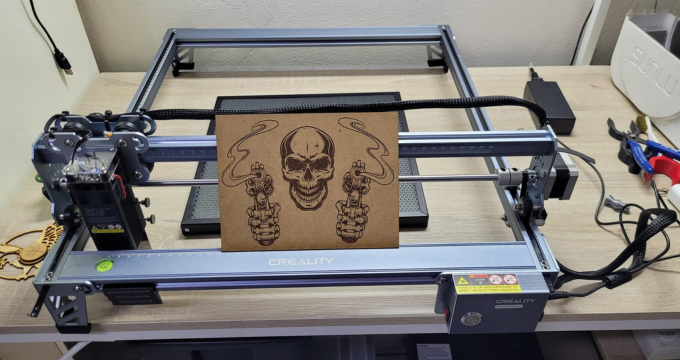
 Greetings, greetings all. Love my 10w falcon. This thing exceeded my expectations like crazy. Works like a charm and so easy to build.