How to: Precision Batch Engraving with Creality Falcon2 Pro
| Software | LightBurn |
|---|---|
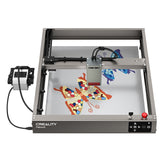
| Machine | CrealityFalcon Laser Falcon2Pro 40W |
| Laser Module Output Power | 40W+1.6W |
| Material Used |
Cardboard labels |
| Author | Marcuzzo Mattia |
| Purpose | Engraving on cardboard labels with camera |
| LightBurn Files |
How to
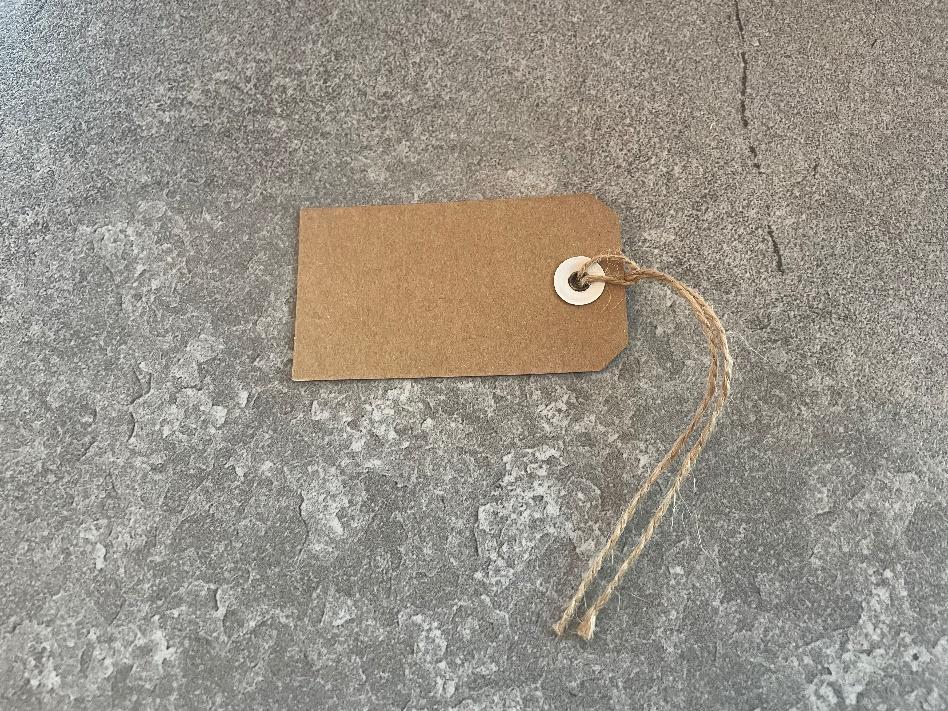
Step 1: Identify the cardboard labels to be engraved.
Step 2: Fix the labels to a panel to prevent them from moving during processing and place it in the laser work area.
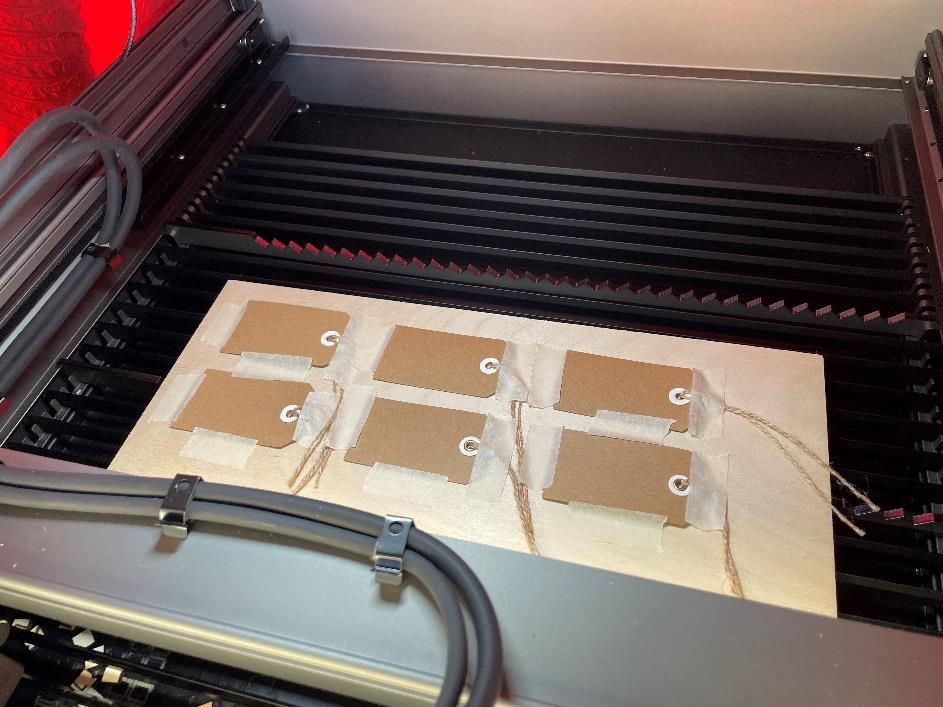
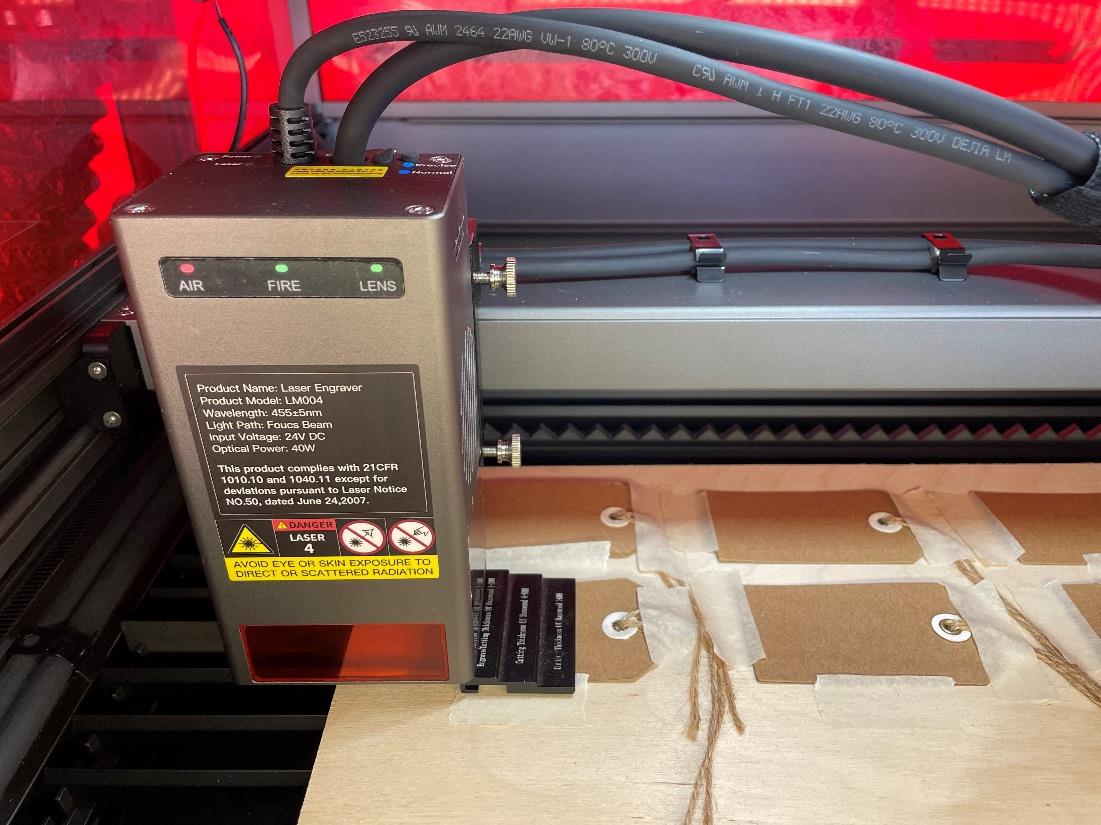
Adjust the focus of the laser module on a label. Then press the Home button.
Step 3: Try to illuminate the work area well to acquire the image with the camera, perhaps using a flashlight.
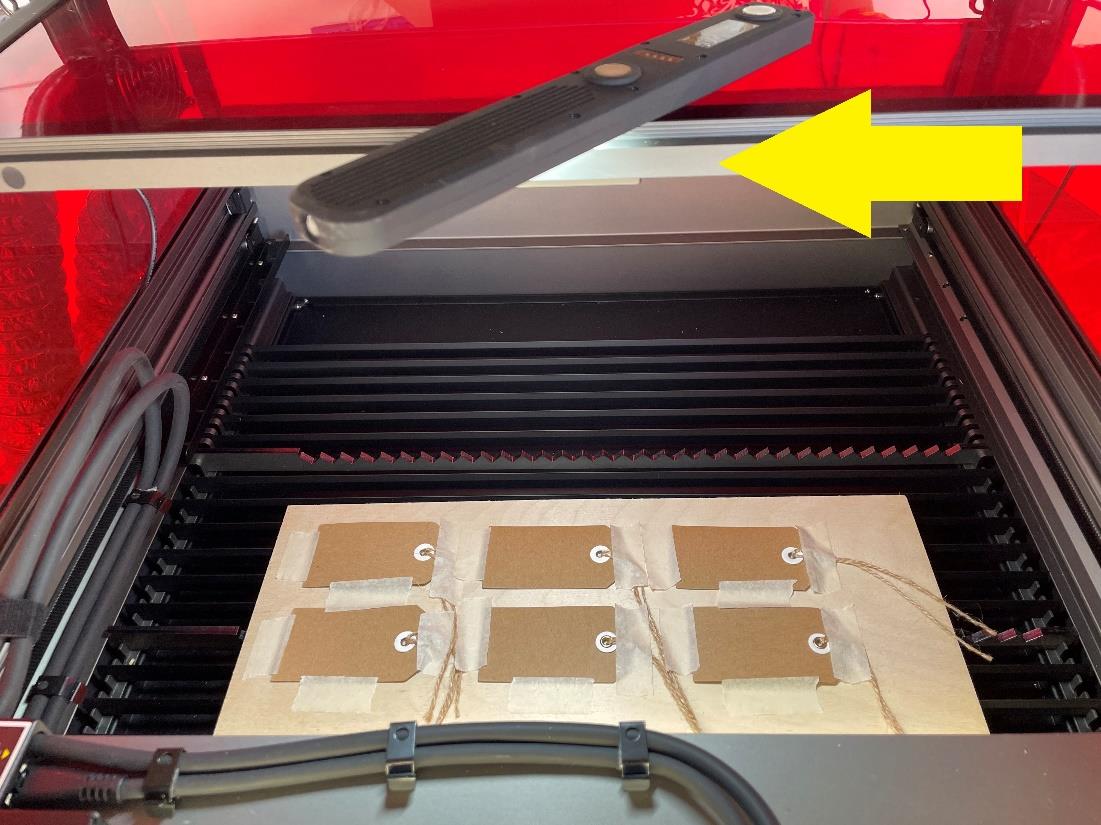
Step 4: Acquire the image by pressing the "update overlay" button. For greater clarity, I recommend trying to disable the "fade" option. All these operations can be found in Lightburn's "camera control" window.
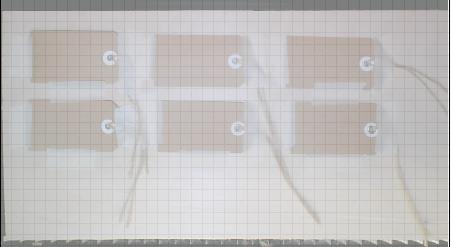
Attention: Before starting, remember to calibrate the camera with the guide provided by Creality Falcon
Step 5: Set the speed to 2000 mm\m and the power to 30%. To have a darker engraving, also set 2 steps (It all depends on the material, do some testing).
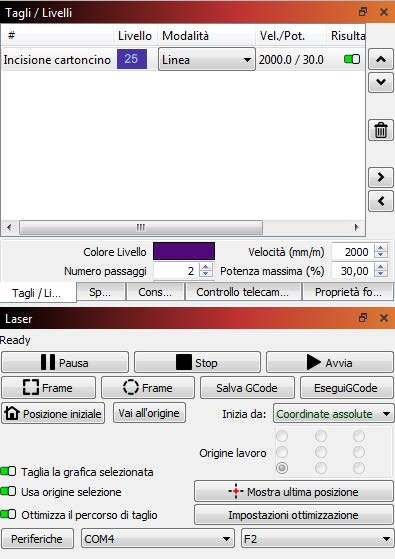
Step 6: Place the design to be engraved directly on the Lightburn work surface which will correspond to the one captured by the camera. Then highlight all the drawings and press the "play" button.
Once you have made the engraving, press the "update overlay" button and check that it is actually in the same position you had chosen. If it doesn't match, use the two navigation keys X and Y to correct the camera alignment.
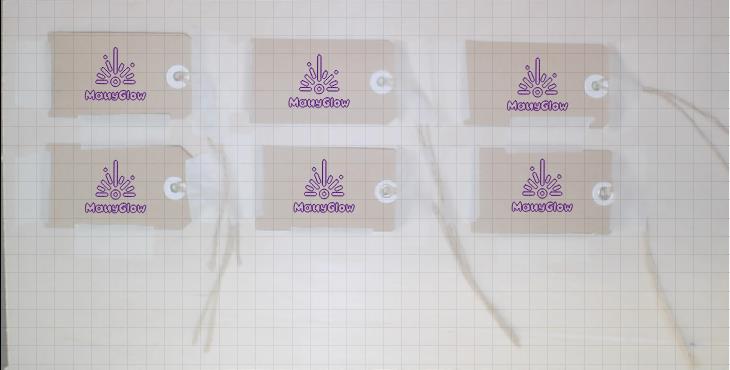
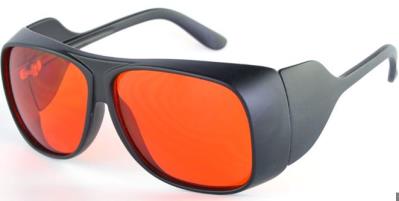
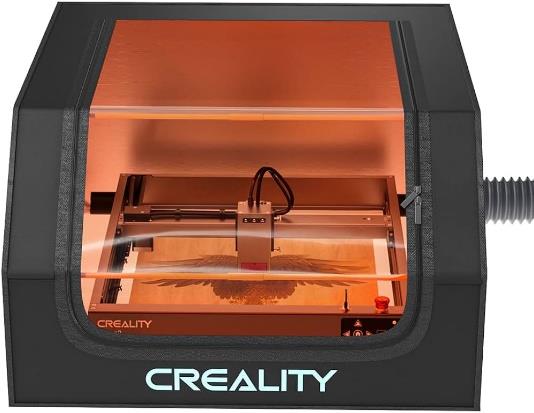
Always remember to use safety glasses (if you don't have a cover) and a fume extractor. Good work.




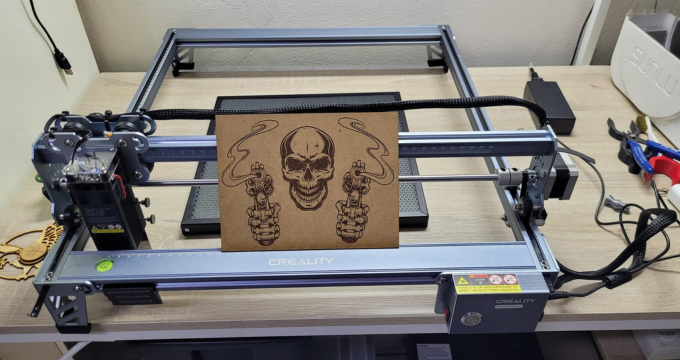
 Greetings, greetings all. Love my 10w falcon. This thing exceeded my expectations like crazy. Works like a charm and so easy to build.












Leave a comment
All blog comments are checked prior to publishing