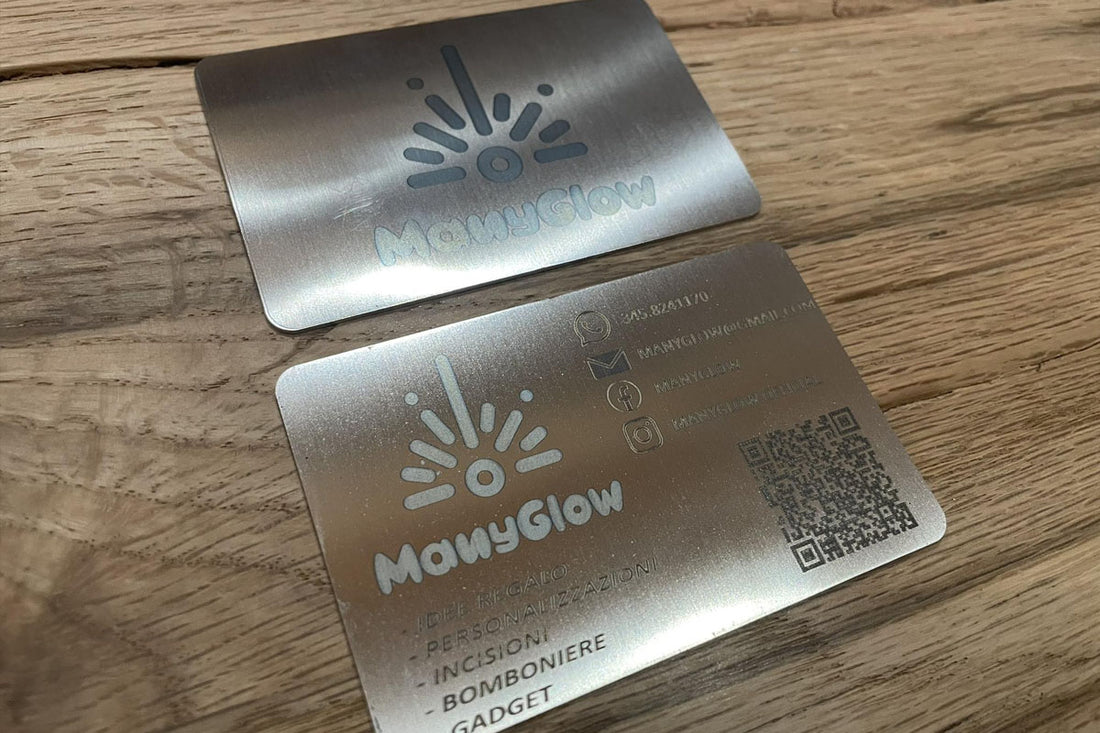
Color Engraving Stainless Steel Business Card
| Software | LightBurn |
|---|---|
| Machine | CrealityFalcon 22W Laser Engraver |
| Laser Module Output Power | 22W |
| Material Used |
Stainless steel business card |
| Author | Marcuzzo Mattia |
| LightBurn Files |
How to
Step 1: Locate the stainless steel card to be engraved and note the dimensions

Step 2: Place the workpiece on the laser working field and adjust the focus of the laser module. Place the piece on a flat wooden surface that can be engraved

Step 3: On lightburn create a rectangle with the dimensions of the piece and set speed 3000 mm/min and power 30%. It will be used to engrave the wooden base and exactly position the object to be engraved.

Step 4: Position the writing and logo to be engraved inside the rectangle. We will engrave with three different shades of color; black, blue and yellow.
Attention: Colors may vary depending on the type and thickness of the material

Step 5: Set the parameters for the black color as in the photo

Step 6: Set the parameters for the blue color as in the photo

Step 7: Set the parameters for the blue color as in the photo

Step 8: Highlight only the rectangle and run the program by pressing the play button. Place the stainless steel card inside the engraving you just made
Attention: Be careful not to move the piece of wood or the laser module when positioning the piece

Step 9: Turn off the "Side" layer, and remember that you created a T1 layer frame area. Highlight the frame area of the design you want to engrave and run the program.
Video Tutorial
-
How to
-
Video Tutorial



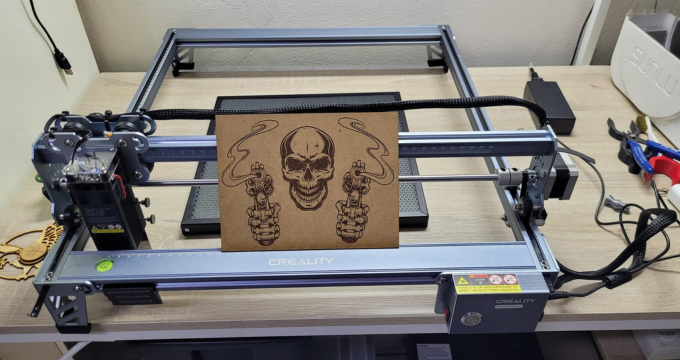
 Greetings, greetings all. Love my 10w falcon. This thing exceeded my expectations like crazy. Works like a charm and so easy to build.

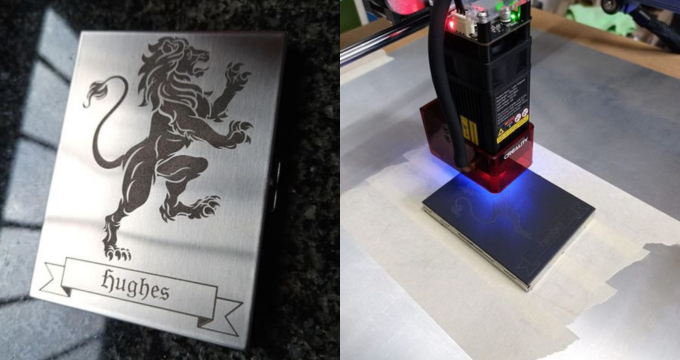









Leave a comment
All blog comments are checked prior to publishing