How-to Tutorial: Step by Step to Laser Engraving a Slate with Crealityfalcon 22W
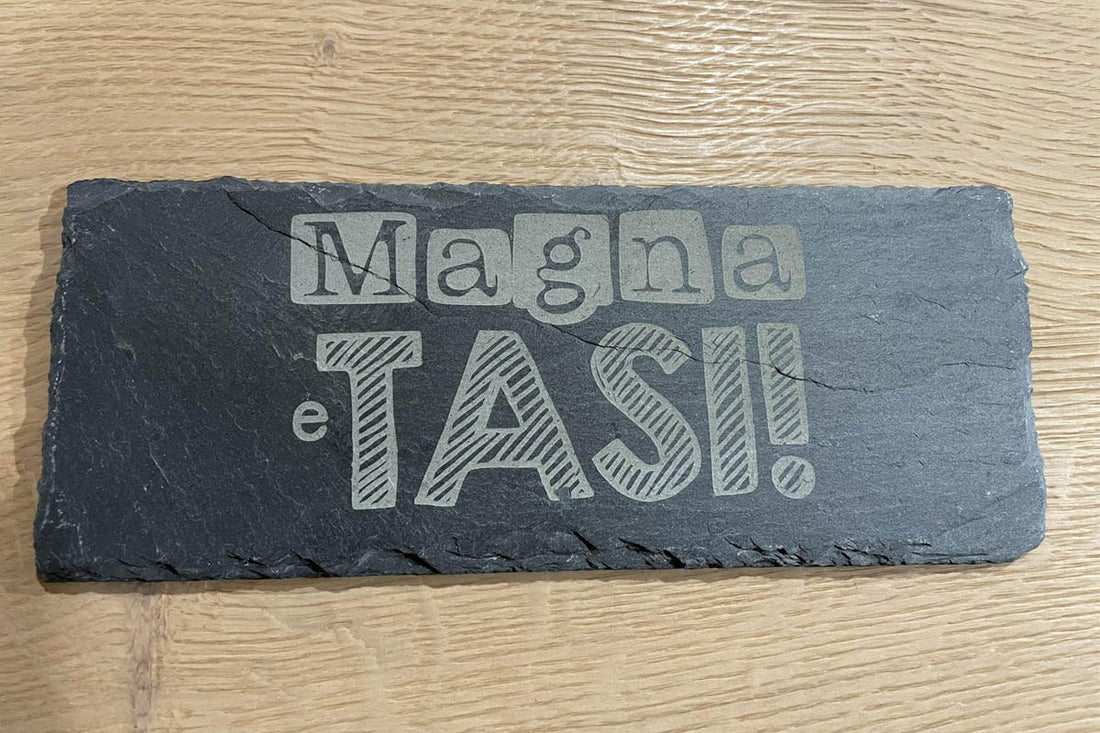
This guide is generated by Marcuzzo Mattia, and approved to post at Crealityfalcon. You can learn how to laser engraving a slate with detailed steps.
| Software | LightBurn |
|---|---|
| Machine | CrealityFalcon 22W Laser Engraver |
| Laser Module Output Power | 22W |
| Material Used | Slate |
| Author | Marcuzzo Mattia |
| LightBurn Files |
Step 1:
Locate the piece of slate to be engraved and note the dimensions

Step 2:
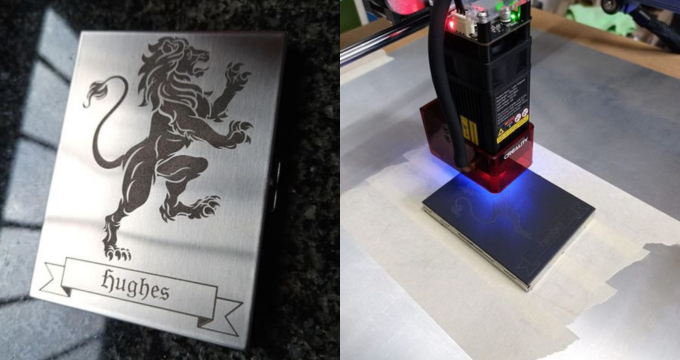
Place the piece of slate on the laser working field and adjust the focus of the laser module.

Step 3:
On lightburn, create a rectangle with the dimensions of the piece and set speed 4000 mm/min and power 1%. It will serve to exactly position the object to be engraved.

Step 4:
Position the writing to be engraved inside the rectangle and set the speed to 12000 mm|min and the power to 80%

Step 5:
Set the parameters for filling the image as shown in the photo

Step 6:
Highlight only the rectangle and run the program by pressing the play button. Check the exact positioning of the piece. Alternatively, carve the rectangle into a piece of wood and place the piece inside


Attention: if you use the piece of wood as a support surface, re-perform the focus adjustment of the laser module (STEP 2). Be careful not to move the piece of wood or the laser module when positioning the piece
Step 7:
Highlight the entire drawing including the rectangle and run the program

Step 8:
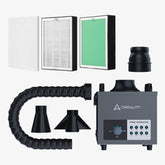
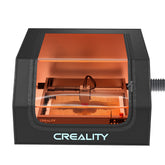
Always remember to use safety glasses (if you don't have a cover) and a fume extractor. Good work

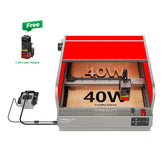



 Greetings, greetings all. Love my 10w falcon. This thing exceeded my expectations like crazy. Works like a charm and so easy to build.
